Wednesday, June 28, 2017

BACK YARD OVERHAUL

The time has finally come to rip out the old back yard and make it our Oasis in the desert.  We have a lot of ideas for what we want our backyard to look like.  So we had multiple landscapers give us a bid to do half of our backyard.....$12-20,000 later we decided we were gonna have to do it ourselves (meaning mostly my hubby, while I provide the vision and inspiration lol!).

                   So, here is a preview of what we had to deal with.... the BEFORE
               This included a whole lot of BAMBOO, Sticker weeds, and Bermuda grass
                                                                           

                                                                          BEFORE
Yep, it's the great wall of Bamboo!

Without bamboo


The pond feature

Water feature to pond


As you can see, there wasn't much to keep in the backyard.  
So we had everything ripped out to start over.

We started by adding a patio
best picture of patio I could find
fire pit

steps from patio to fire pit


I will have to take some more pictures of what the yard looks like now.  
It is really hot now, so a lot of the plants don't look very great.  
We have added a gazebo to add some shade to our backyard.  
That has been a great investment to have somewhere to sit outside in the summer. 

BASEMENT UPDATES

We haven't been able to do much to our basement yet.  We had new tile put in, added a stove, and painted the bookshelf surrounding the stove.  Here are the before and after.
BEFORE 2013


After 2013


KITCHEN REMODEL

We had plans to remodel our kitchen (mostly because of the cabinets-original to the house).  It was going to be somewhere in the future like 3 years from when it actually took place.

We were blessed with a leak in our hose to the fridge, which moved up the process a few years!!                                                        
                                                       Here is the kitchen before.  

I really liked our floors and the counter tops, but they had to come out to fix the water leak which in turn resulted in new floors (entire upstairs).  We decided since we had to move the cabinets to replace the sub floor, it was a "perfect" time to just gut and redo the entire kitchen.

Here is the list of projects we had to do in the kitchen: 
(to do the kitchen, we had to redo much of the entire upstairs...yeah!


  • Rip out: existing cabinets, counter tops, appliances, light fixture (doesn't everyone want a ceiling fan in the kitchen?), soffets (ceiling above cabinets), and baseboards.


  • Have drywall patched.
  • Have walls textured (entire upstairs) over the many different varieties of textures.  Each room had a different texture- even Venetian plaster for much of the upstairs.   
  • Install new laminate floors
  • Paint
  • Install new baseboards (one day we will finish with caulking!)
  • Have can lights put in kitchen 
  • New ceiling fans upstairs
  • New cabinets
  • New counter tops and sink
  • New appliances
I think that could be all.... thank you leak for allowing us to spend our summer redoing our entire upstairs!  Although, I really do love my new kitchen, and upstairs even if I wasn't to excited to pay for a new kitchen 3 years too soon!

                                                    Here are some pics of the process:


2014 AFTER


BEFORE 2013


STORAGE ROOM FROM THE 70's- NEW CRAFT ROOM

This was a project that I was very excited to have done, but did not have much to do with the process.  Good thing I have such a nice hubby who did the work for me!!

So, this 70's storage room was pretty bad to put it nicely!  It had sweet orange and gold linoleum, orange counter tops, and some awesome home made shelves (which were the home to a family of mice.... who left presents all over the room-yuck!!)  This was the reason I really had no part in the room transformation.  I imagined when the sheet rock was removed it would be like the scene in Ratituou ??  where the ceiling collapsed and mice ran everywhere.  So, I tried to stay clear of the project!  Much to my surprise, there were not any families living in the walls (thank heavens!!).

My hubby gutted the room, put up new sheet rock, new counter tops were added, and had carpet put in.  It turned out amazing, and it definitely gets used for many craft, wedding, house, and school projects.  I loved that I can start a project and shut the door and come back later!!

                            Here is the delightful room before... the pictures don't do any justice!
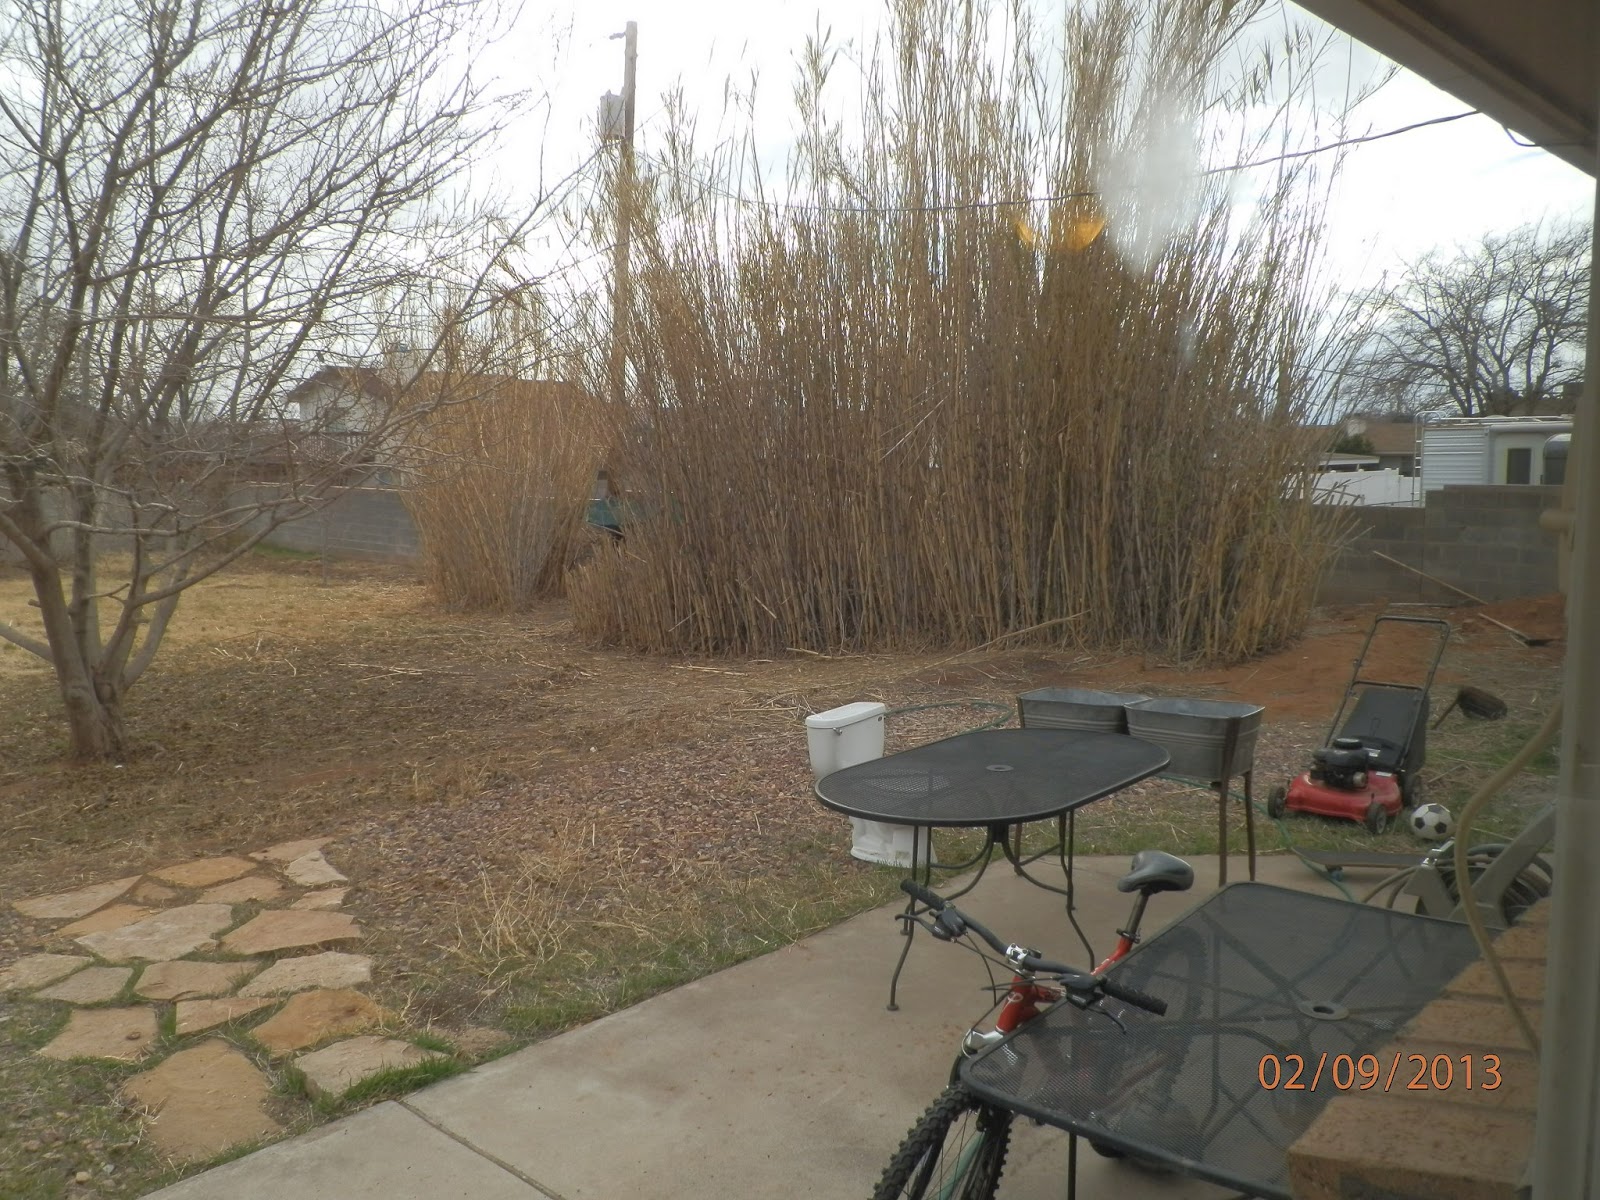
Before 2013


After- 2013
new carpet, counter top, sheet rock, paint, and baseboards.

Green cupboard came out of my grandpa's old garage they were tearing down.  
It was really gross and needed a good cleaning, but I love the old worn look.

Sanded down a yard sale black desk and found this green surprise under it.  
Love how it turned out, and matches my cupboard- bonus!
This is my motto!! found it on pinterest.

I wish it looked like this now!! I will spare you the present state of my craft room... it is filled with many craft projects, and a lot of craft stuff!


PAINTING THE EXTERIOR & FINISHED GARAGE

After staining the brick to a color we could live with, it was on to finding a paint color to go with the new brick color and the new roof.  We do have plans down (my plans are definitely sooner than my hubbies!) the road to stucco and rock the exterior of our house.  In the nearing future, we will pull out the front pitch of the house to cover our new front porch( I will post pictures later).   So for the time being, we tried to transform our house with some new color on the outside.

BEFORE Colors & Carport 2013
I know looking at the house, one would think what a beautiful mix of creamy apricot colors.  But we did not love the colors, so here it is with a new splash of color.

AFTER 2014
I guess I should have shown our house with just the carport before we added our much needed an long waited for garage.  Here is our house with the garage (we painted after the garage was finished).


CARPORT


GARAGE
AFTER 2014

The next major project was NEW WINDOWS (which we really needed).  Here is a picture of the new trimmed out windows.

WINDOWS 2014

There she is in all of her glory! We really like how it turned out, it really changed the look of the exterior.


BACK TO BLOGGING!!

After going on a blogging leave of um like 3 years, I have decided to update with all of the house projects that have been ongoing for the last 3 years.  We have accomplished a lot of projects over the years (it is what we do for fun!! super lame!).  However, going back to school and starting my teaching career has put a major slow down on the projects I have been able to take on.    So I will try to post in the order the projects took place.  First is the painting of the exterior of the house.